Adding your digital badge to your email signature
Showcasing your digital badges is a great way to demonstrate your accomplishments and highlight skills and special professional achievements to your contacts.
You can add your CIPP digital badge to your email signature by following a few simple steps:
- Log into the CIPP eLearning portal
- Save your badge image
- Copy the URL containing your badge information (criteria)
- Add the image to your email signature and link the image and criteria together
It may sound complicated but it’s more straightforward than it sounds.
Step 1: Logging into the CIPP eLearning portal
The ‘digital badges’ are hosted on the CIPP’s eLearning portal which can be found at http://moodle.cipp.org.uk.
- If you have never used the portal before, you will have received an email from the eLearning portal containing your login details
- Your username is your CIPP membership number including the M prefix
- Your password is contained in the email.
- If you have previously used the site, then you will have set your password to something more memorable than the original random password.
- Once logged in, you will see a link called ‘Chartered membership’, click on that link.
- Once in the Chartered membership area, click on ‘Dashboard’ in the menu on the right.
- Now click on the name under the badge which will take you to the badge details page. This is the information someone clicking on your badge in your signature will see. You will see it contains confirmation of the badge issuer as well as a description and the criteria you satisfied to achieve the award.
Step 2: Saving the badge image
Simply click the ‘download’ button on badge details page.
By default, Windows will save the file to your ‘downloads’ folder on your PC, however in certain systems you may be able to choose where to save the image.
Step 3: Copying the criteria URL
If you look at the top of the browser window, you will see a long web address, this is the URL link which we will attach to the image in your email signature. It looks something like this:

If you ‘right click’ using your mouse on the URL, the text will be highlighted and you will have the option to ‘copy’ the text.
Step 4: Adding the badge image to your signature and linking the criteria
This may differ depending on your organisations’ permissions regarding signatures, however the following explains how this works in Microsoft Outlook.
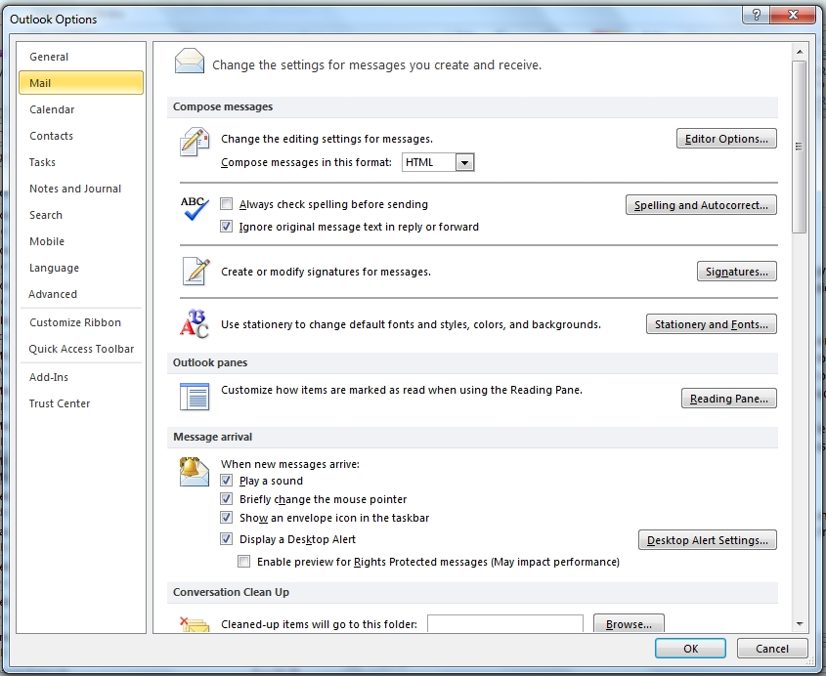
In Outlook, find the settings feature where you can edit your signature. This can usually be found under file/options/mail/compose messages/create or modify signatures for messages.
Choose the signature you want to edit.
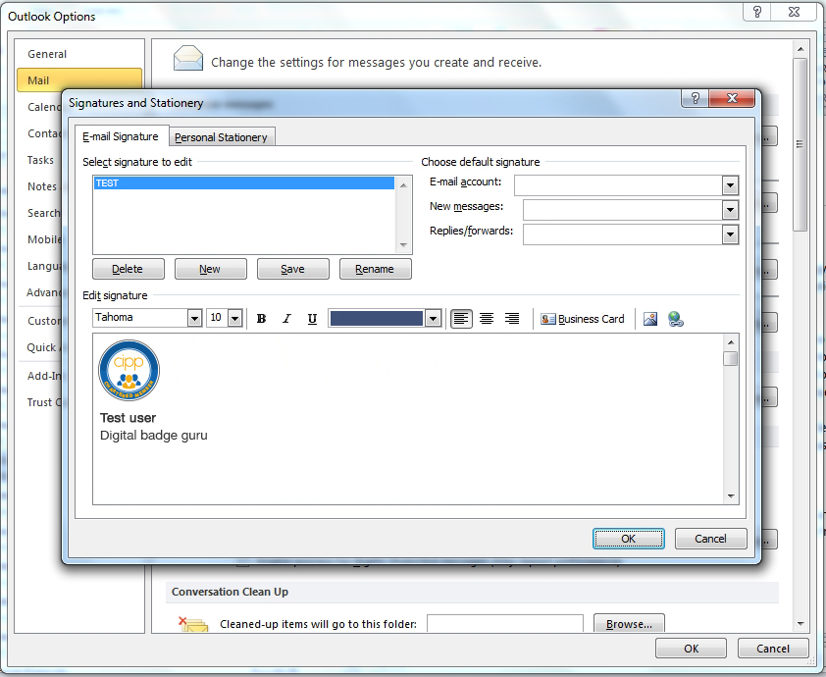
- Click the ‘picture’ icon to insert the picture
- Click the 'link' icon to add your 'criteria' URL
- Paste the URL copied in step 3 into the address field
- Click OK when done to ensure you changes are saved
And that's it. Your digital badge should now be displayed in the signature of all newly composed emails.
If you are experiencing any problems adding your badge to your signature, please email [email protected].
To further showcase your achievement, you can also follow our guide for Adding your digital badge to LinkedIn.
_web.jpg")

